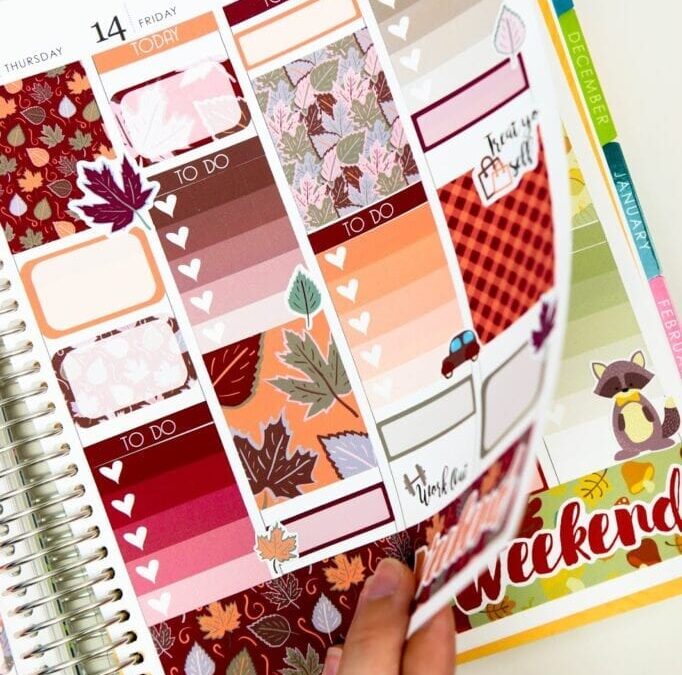
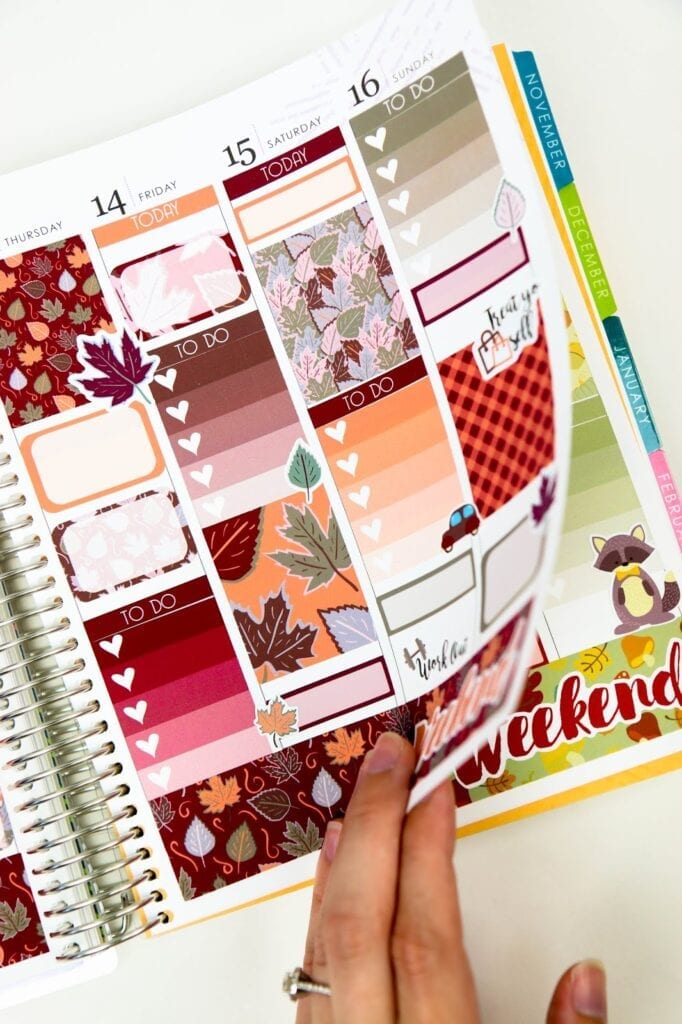
Any proper planner addict should have their own planner related Instagram profile. Whether or not you combine it with your “personal” account is up to you, but having a place to share your spreads and seek feedback is another element to the planner community. Don’t have one yet? Here are five easy steps to get started.
1. Pick a planner related name. That way your Instagram can be found easier when other planner people are exploring for new feeds. Something like “planlikekim” or “kimplansalot” work!
2. Post consistently. At first your feed won’t get much traction, but if you post consistently once a day or every other day, your profile will start to gain more traction and exposure.
3. Use hashtags to help your posts get found. Be sure to mix them up from post to post so Instagram doesn’t think you’re spamming. Use hashtags like #plannercommunity, #planneraddict, #erincondren, and others depending on what planner you’re using.
4. Bright lighting. I mean this one should probably be the only rule with Instagram posts. Keep your photos bright. The easiest way to do this is to put down a white piece of paper next to a window. Take photos of your planner in bright, natural light. No one wants to look at dark photos!
5. Follow fellow planner Instagrams and comment on their posts. The best way to gain a following is to become active in the community. Follow other planner Instagram accounts and comment on their posts. Engage with them and they’ll undoubtedly engage with you! Being an active member of whatever community you’re using Instagram for is imperative to having success in growing a following.
It’s super easy to get your Instagram for your planning up and running! Let me know what your Instagram handle is in the comments so I can go follow you!


